Thermal Paste on Motherboard Pins Risks Fixes and Prevention Guide
Thermal paste on motherboardpins is a common yet serious issue that can impact the performance and stability of your computer system. It usually occurs during CPU installation or maintenance when excess paste spreads to sensitive areas. While thermal paste is essential for heat transfer, improper application can lead to connection problems or even hardware damage. Understanding how to handle, clean, and prevent this issue is crucial for maintaining a safe and efficient PC setup.
Thermal paste on motherboard pins can cause damage or boot issues. Learn safe cleaning methods, risks, and prevention tips to protect your PC hardware.
- Understanding Thermal Paste and Its Purpose
- What Are Motherboard Pins and Why Are They Important?
- How Thermal Paste Ends Up on Motherboard Pins
- Types of Thermal Paste and Their Impact
- Risks of Thermal Paste on Motherboard Pins
- Symptoms of Contamination
- Step-by-Step Guide to Cleaning Thermal Paste from Pins
- Tools You Will Need
- Precautions During Cleaning
- Can Thermal Paste Permanently Damage the Motherboard?
- Preventing Thermal Paste Spillage
- Correct Application Technique
- When to Seek Professional Help
- Importance of Regular Maintenance
- Real-World Scenarios
- FAQ’s
- Conclusion
- Related post
Understanding Thermal Paste and Its Purpose
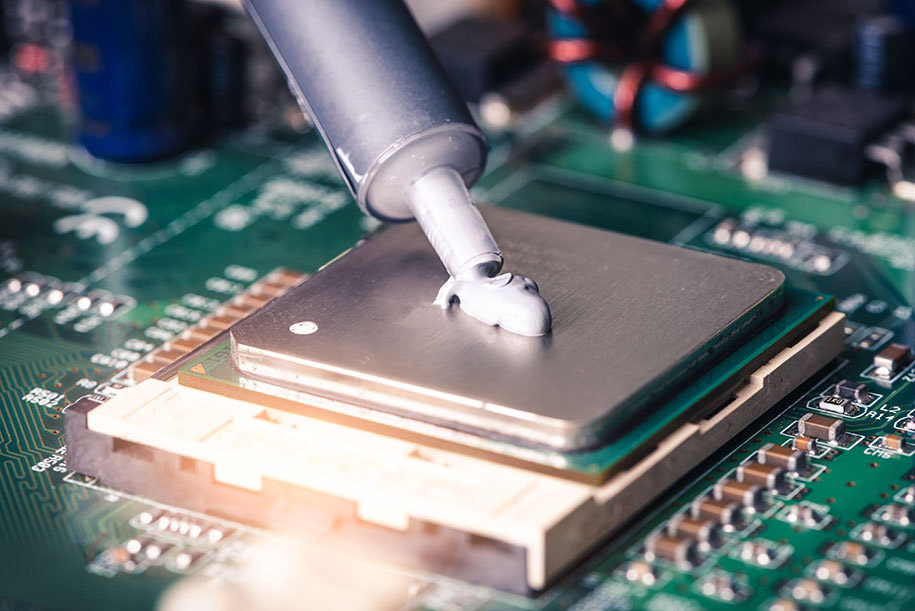
Thermal paste, also known as thermal compound, is a heat-conductive material applied between a CPU and its cooler.
Its main purpose is to fill microscopic gaps between surfaces, allowing efficient heat transfer from the processor to the cooling system.
Without thermal paste, air pockets can form, which reduces cooling efficiency. However, using too much paste or applying it incorrectly can cause it to spread beyond the CPU surface, leading to contamination of nearby components such as motherboard pins.
What Are Motherboard Pins and Why Are They Important?
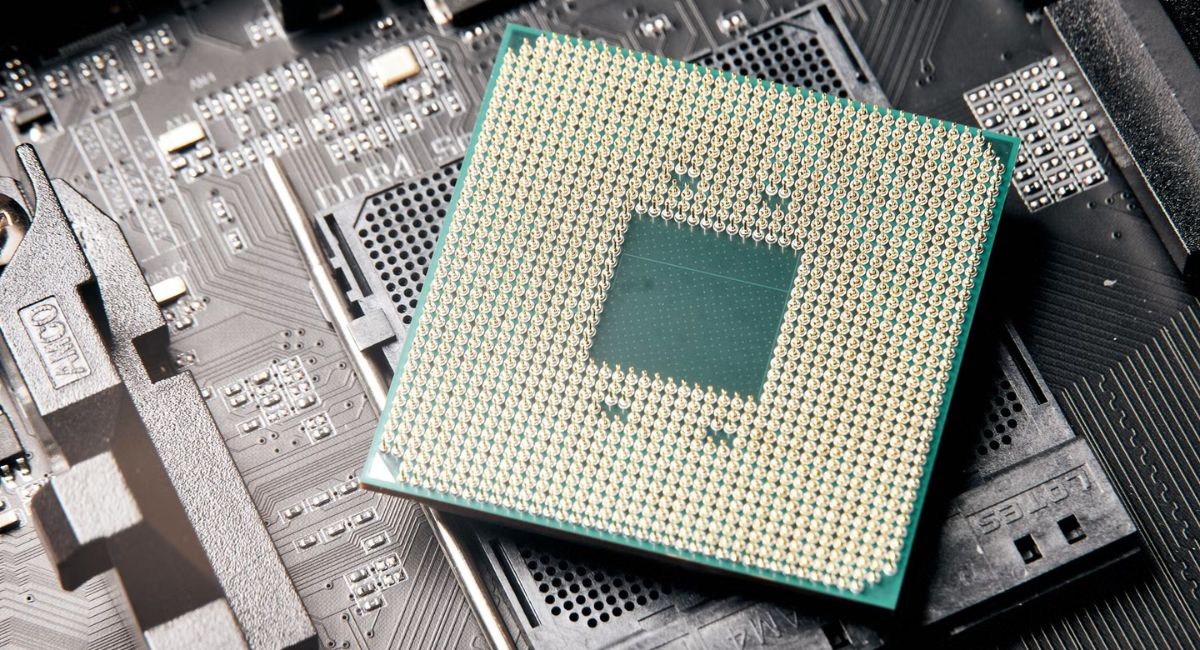
Motherboard pins are tiny metal connectors located in the CPU socket or on the processor itself, depending on the socket type.
These pins are responsible for transmitting electrical signals between the CPU and the motherboard.
They are extremely delicate and must remain clean and properly aligned. Even minor contamination or obstruction can disrupt communication between components, leading to system instability or complete failure to boot.
How Thermal Paste Ends Up on Motherboard Pins
Thermal paste can reach motherboard pins due to several common mistakes. One of the main causes is applying too much paste on the CPU.
When the cooler is installed, the excess paste spreads outward and may reach the socket area.
Another common cause is improper handling during installation or removal of the CPU cooler. If the cooler is shifted or removed carelessly, it can drag thermal paste across the motherboard surface. Beginners are especially prone to this issue due to lack of experience.
Types of Thermal Paste and Their Impact
Not all thermal pastes behave the same way. The type of paste used determines the level of risk if it comes into contact with motherboard pins.
Non-conductive thermal paste is the most common and is generally safer because it does not carry electrical current. However, it can still block proper contact between pins and CPU.
Metal-based or conductive thermal paste contains particles like silver or other metals. These types are more dangerous because they can cause short circuits if they touch electrical contacts. Liquid metal thermal compounds are even more conductive and should be handled with extreme care.
Risks of Thermal Paste on Motherboard Pins
Thermal paste contamination can cause a wide range of issues. The severity depends on the type of paste and how much has spread onto the pins.
- Disrupted electrical connections between CPU and motherboard
- System failing to boot or detect hardware
- Random crashes and freezing
- Overheating due to improper CPU contact
- Short circuits in case of conductive paste
- Permanent damage to motherboard or processor
These risks highlight the importance of addressing the issue immediately.
Symptoms of Contamination
Recognizing the signs of thermal paste on motherboard pins can help prevent further damage. A system that does not power on or shows no display output may indicate a problem with the CPU connection.
Other symptoms include frequent system crashes, unexpected restarts, or reduced performance. In some cases, the BIOS may fail to detect the CPU properly. Visual inspection can confirm the presence of thermal paste around the socket area.
Step-by-Step Guide to Cleaning Thermal Paste from Pins
Cleaning motherboard pins requires patience and attention to detail. It is a delicate process that should be done carefully to avoid bending or damaging the pins.
First, turn off the system completely and disconnect it from the power source. Remove all connected cables and components. Carefully detach the CPU cooler and remove the processor if necessary.
Use high-percentage isopropyl alcohol and a soft anti-static brush or lint-free cloth. Apply a small amount of alcohol and gently clean the affected area. Avoid applying pressure on the pins.
Work slowly and ensure that all visible paste is removed. After cleaning, allow the motherboard to dry completely before reassembling the system. Proper drying is essential to avoid short circuits.
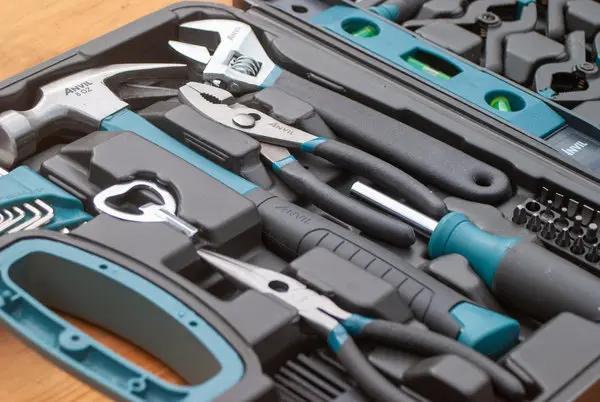
Tools You Will Need
Having the right tools can make the cleaning process easier and safer.
- Isopropyl alcohol (90% or higher)
- Anti-static soft brush
- Lint-free or microfiber cloth
- Cotton swabs for precision cleaning
- Bright lighting for clear visibility
These tools help ensure effective cleaning without damaging sensitive components.
Precautions During Cleaning
It is important to follow safety precautions while cleaning motherboard pins. Always work in an environment free from static electricity. Using an anti-static wrist strap can provide additional protection.
Avoid using water or household cleaning products, as they can damage electronic components. Do not use sharp objects to remove paste, as this can bend the pins. Patience is key when dealing with delicate hardware.
Can Thermal Paste Permanently Damage the Motherboard?
In many cases, thermal paste does not cause permanent damage if it is cleaned properly and quickly. Non-conductive paste is less harmful and usually only causes temporary issues.
However, conductive paste can lead to short circuits, which may permanently damage the motherboard or CPU.
The longer the paste remains on the pins, the higher the risk of damage. Immediate action greatly increases the chances of recovery.
Preventing Thermal Paste Spillage
Preventing thermal paste from reaching motherboard pins is easier than fixing the issue. The most important step is applying the correct amount of paste.
A small pea-sized drop in the center of the CPU is usually sufficient. When the cooler is installed, it spreads the paste evenly across the surface. Avoid spreading it manually unless necessary.
Careful installation of the CPU cooler also helps prevent spillage. Do not move or twist the cooler excessively once it is placed. Always follow manufacturer instructions for best results.
Correct Application Technique
Applying thermal paste correctly ensures efficient cooling and reduces the risk of contamination. Place a small amount of paste in the center of the CPU and allow the pressure of the cooler to distribute it evenly.
Avoid over-application, as excess paste can overflow. Using high-quality thermal paste also improves performance and reduces the need for reapplication.
When to Seek Professional Help
If the contamination is severe or if you are unsure about cleaning the pins, it is best to consult a professional technician.
Attempting to clean delicate components without experience can cause more harm than good.
Professionals have specialized tools and expertise to handle such situations safely. Seeking help can save your hardware from permanent damage.
Importance of Regular Maintenance
Regular maintenance of your computer system helps prevent issues like thermal paste contamination. Cleaning dust, checking component placement, and monitoring temperatures can improve overall performance.
Proper maintenance also extends the lifespan of your hardware. A well-maintained system is less likely to encounter serious problems.
Real-World Scenarios
Many users face thermal paste issues during their first PC build or upgrade. For example, a user applying too much paste may notice their system failing to boot. Upon inspection, they find paste on the socket pins.

After careful cleaning with isopropyl alcohol and proper reinstallation, the system works perfectly again. This shows that while the issue can be serious, it is often fixable with the right approach.
FAQ’s
1.Can thermal paste on motherboard pins stop a PC from booting?
Yes, thermal paste can block electrical contact between pins and CPU, preventing the system from booting properly or causing hardware detection issues.
2.Is all thermal paste safe for motherboard pins?
No, non-conductive paste is safer, but conductive or liquid metal paste can cause short circuits and serious hardware damage if spilled on pins.
3.How do I know if pins are damaged?
Bent or broken pins may appear misaligned or uneven, and the system may fail to boot or detect the CPU correctly.
4.Can I clean motherboard pins at home?
Yes, with proper tools like isopropyl alcohol and a soft brush, you can safely clean pins if done carefully and patiently.
5.How long should I wait after cleaning before turning on PC?
You should wait at least 30–60 minutes to ensure complete drying and avoid any risk of short circuits.
Conclusion
Thermal paste on motherboard pins is a serious but manageable issue if addressed correctly. Understanding its risks, causes, and proper cleaning techniques can help protect your system from damage. By applying thermal paste carefully and maintaining your hardware regularly, you can avoid such problems altogether. Whether you are a beginner or an experienced user, following best practices ensures long-term performance, stability, and reliability of your computer system.