How to Flash BIOS on B650 Pro Motherboard – Full Guide
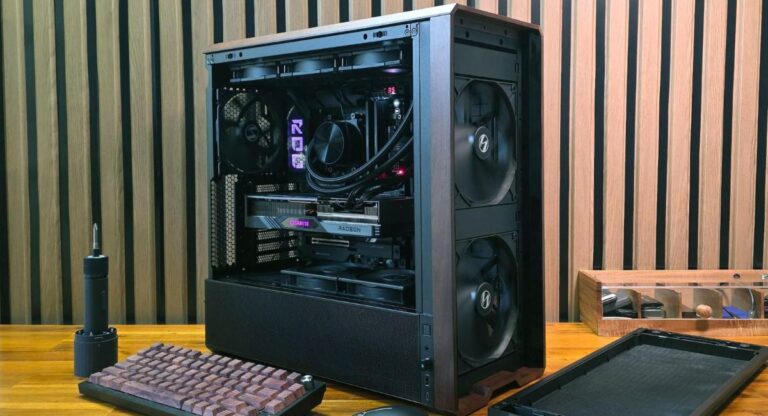
Flashing the BIOS on a B650 Pro motherboard is an essential process for improving system stability, performance, and hardware compatibility. It allows your PC to support new CPUs and fix critical boot issues. Although it looks technical, it is simple when done correctly. This guide explains a safe method using the Flash BIOS Button feature. You will learn step-by-step instructions, safety tips, benefits, and common mistakes to ensure a smooth BIOS update.
Learn how to flash b650 pro motherboard safely using Flash BIOS Button. Step-by-step guide to update BIOS for better stability, compatibility, and performance.
- What is BIOS Flashing?
- Why BIOS Update is Important
- Features of B650 Pro BIOS Flash System
- Benefits of Flashing BIOS
- Download Correct BIOS File
- Prepare USB Flash Drive
- Hardware Setup Before Flashing
- Start BIOS Flash Process
- BIOS Flash Process Table
- After BIOS Update
- Common Mistakes to Avoid
- Signs of Successful BIOS Update
- Types of BIOS Update Methods
- Safety Tips for Beginners
- When Should You Flash BIOS?
- Advanced Tips for Better Results
- Frequently Asked Questions
- Conclusion
- Related post
What is BIOS Flashing?
BIOS flashing refers to updating the motherboard firmware stored on a chip. This firmware controls communication between key components such as the CPU, RAM, storage devices, and GPU.
When manufacturers release updates, they improve compatibility and fix system bugs. Without updates, users may face boot failures, hardware errors, or system instability. Flashing BIOS ensures your system runs smoothly with modern hardware and updated features.
Why BIOS Update is Important
A BIOS update is not required frequently, but it becomes necessary when upgrading hardware or fixing system issues.
Key Reasons
- Improves CPU compatibility
- Fixes system bugs and crashes
- Enhances RAM stability
- Supports new hardware devices
- Improves system security
- Increases overall system reliability
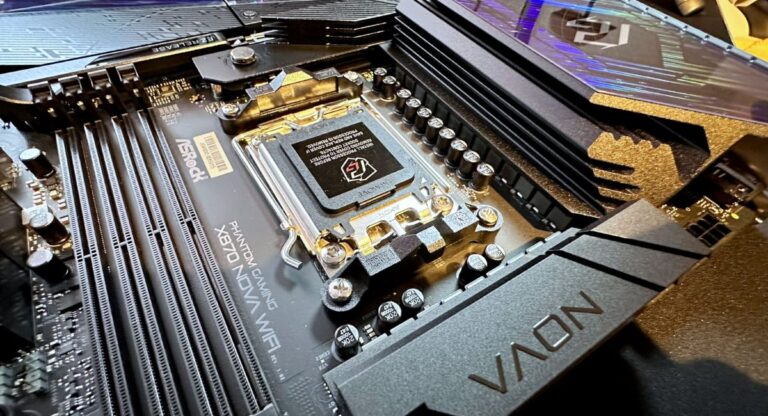
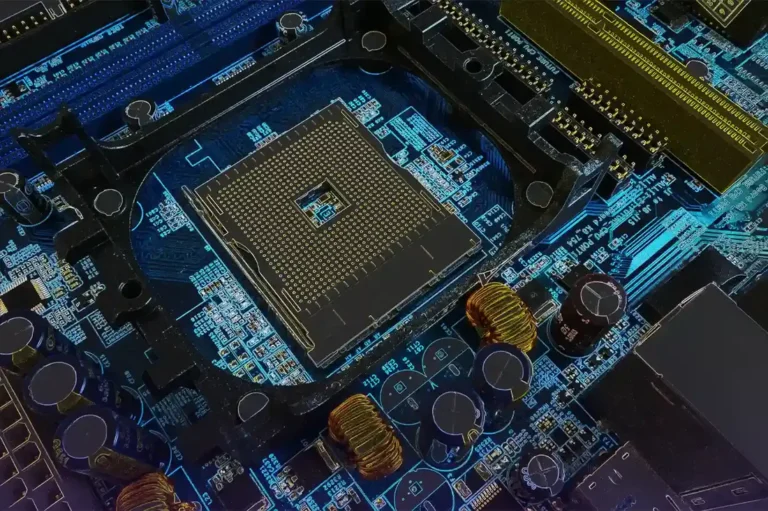
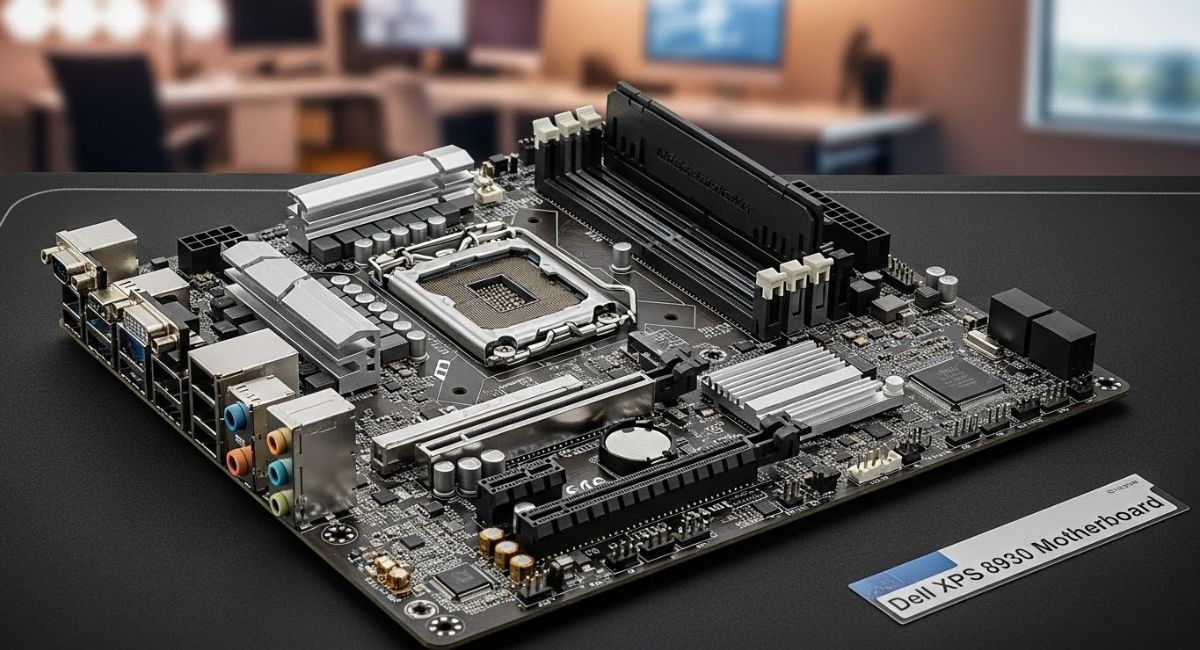
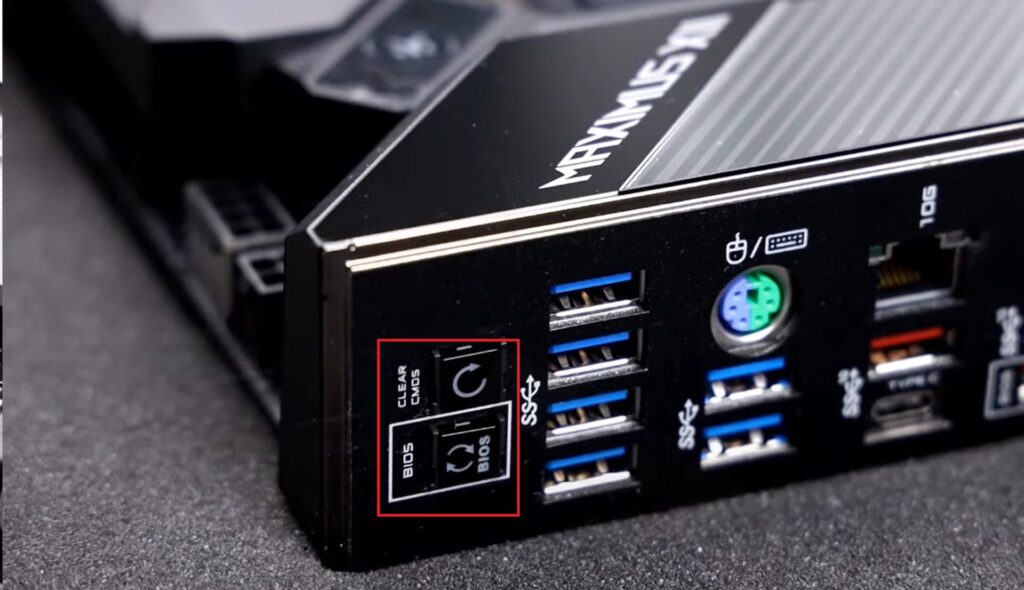
Features of B650 Pro BIOS Flash System
The B650 Pro motherboard includes a dedicated Flash BIOS Button, which makes updating easier and safer.
This feature is designed for both beginners and advanced users who want a simple update method without entering BIOS.
Key Features
- USB-based BIOS update support
- No need to enter BIOS interface
- Works without CPU in some cases
- One-button recovery system
- Safe firmware update process
- Supports latest AMD processors
Benefits of Flashing BIOS
Updating BIOS provides several important improvements to your system performance.
Main Benefits
- Improves processor compatibility
- Fixes system errors and crashes
- Enhances system stability
- Improves RAM performance
- Supports new hardware features
- Boosts overall system reliability
Flashing BIOS also helps in maintaining long-term system health and reducing hardware conflicts.
Download Correct BIOS File
Before starting, you must download the correct BIOS version from the official source.
Steps
- Visit official motherboard support website
- Search exact B650 Pro model
- Download latest BIOS version
- Extract ZIP file carefully
Important Notes
- Always match exact motherboard model
- Never use unofficial BIOS files
- Keep backup of previous version
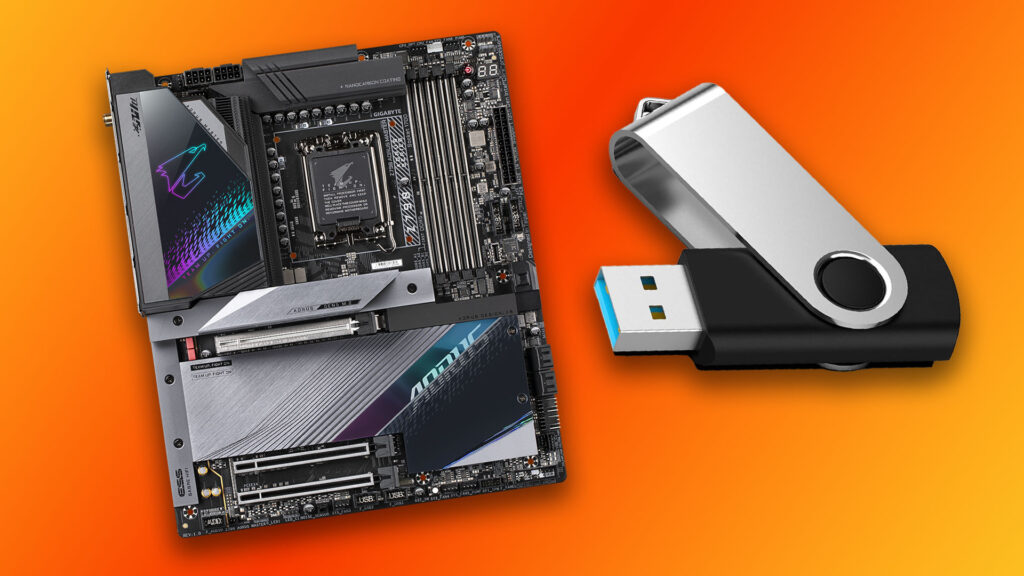
Prepare USB Flash Drive
A USB drive is required to transfer BIOS files for flashing.
Requirements
- Minimum 8GB USB drive
- Format as FAT32 system
- Clean and empty drive recommended
Steps
- Format USB to FAT32
- Copy extracted BIOS file
- Rename file if required by manufacturer
- Place file in root directory
Hardware Setup Before Flashing
Proper hardware setup is very important before starting BIOS update.
Checklist
- Connect 24-pin motherboard power cable
- Connect CPU 8-pin power cable
- Turn off system completely
- Insert USB into Flash BIOS port
Important Warning
Do not power on the system during setup. Ensure all connections are stable before proceeding.
Start BIOS Flash Process
Now you can begin the BIOS flashing process carefully.
Steps
- Turn off PSU power switch
- Insert prepared USB drive
- Press Flash BIOS Button
- LED light starts blinking
- Wait until process completes
Important Rules
- Do NOT remove USB during flashing
- Do NOT cut power supply
- Do NOT press other buttons
- Wait until LED stops blinking completely
This process usually takes 5 to 10 minutes depending on file size and USB speed.
BIOS Flash Process Table
| Step | Action | Important Note |
| 1 | Download BIOS file | Use official website only |
| 2 | Format USB drive | FAT32 required format |
| 3 | Copy BIOS file | Root directory only |
| 4 | Connect power cables | Ensure stable power |
| 5 | Press Flash button | LED blinking starts |
| 6 | Wait completion | Do not interrupt process |
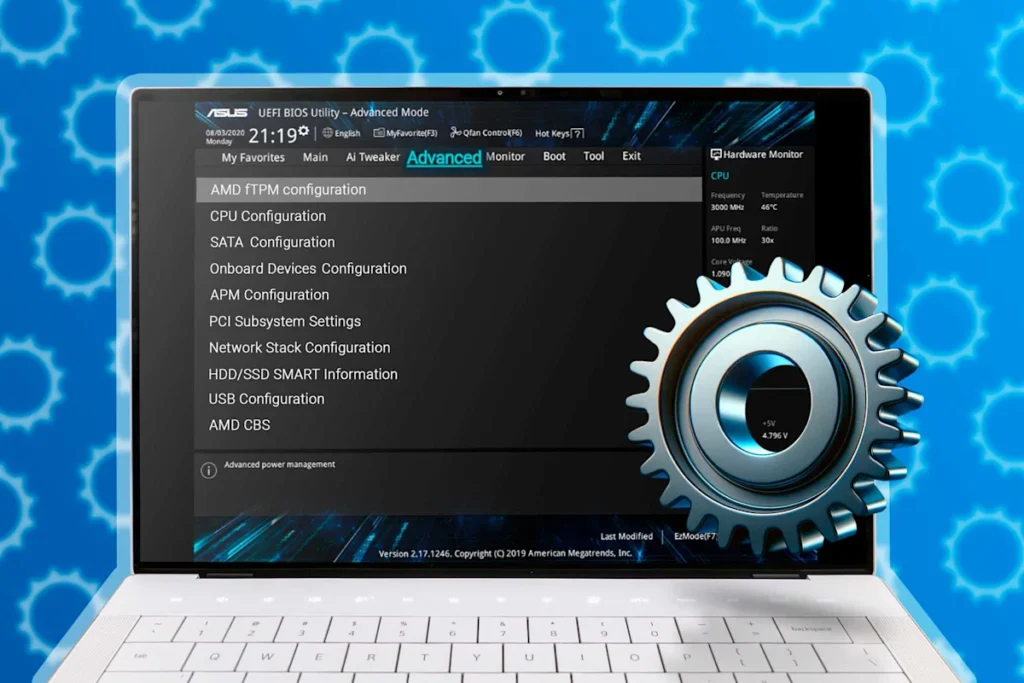
After BIOS Update
Once the BIOS flashing process is complete:
What to do next
- Start system normally
- Enter BIOS setup menu
- Load optimized default settings
- Save and restart system
This step ensures your system runs smoothly with updated firmware.
Common Mistakes to Avoid
Many users make mistakes during BIOS flashing that can damage the system.
Avoid These Errors
- Using incorrect BIOS file
- Removing USB during update
- Power interruption during flashing
- Wrong USB formatting
- Corrupted BIOS file download
These mistakes may result in system boot failure or instability.
Signs of Successful BIOS Update
After successful flashing, your system will show:
- Normal system boot
- Updated BIOS version
- Stable performance
- No error LED indicators
- Improved hardware compatibility
Types of BIOS Update Methods
1. Flash BIOS Button Method
- No CPU required
- USB-based update
- Safest method for beginners
2. BIOS Interface Method
- Done inside BIOS menu
- Requires CPU installed
- More advanced method
3. Windows Update Method
- Done from Windows
- Risky process
- Not always recommended
Safety Tips for Beginners
Best Practices
- Always use official BIOS file
- Ensure stable power supply
- Use UPS if possible
- Follow instructions carefully
- Do not rush the process
When Should You Flash BIOS?
You should update BIOS only when necessary:
- Installing new CPU support
- Fixing system errors
- Improving system stability
- Adding hardware compatibility
Avoid unnecessary updates.
Advanced Tips for Better Results
- Check motherboard revision carefully
- Read official documentation
- Use dedicated USB drive for BIOS
- Avoid multitasking during flashing
- Double-check file name before process
Frequently Asked Questions
1 .Is BIOS flashing safe on the B650 Pro motherboard?
Yes, BIOS flashing is safe if you use the correct file, follow proper steps, and avoid interrupting power during the update process.
2. Can I flash BIOS without CPU installed?
Yes, the Flash BIOS Button feature allows BIOS update without CPU or RAM in most B650 Pro motherboards.
3. How long does BIOS flashing take?
It usually takes 5 to 10 minutes, depending on USB speed and BIOS file size.
4. What happens if power goes off during BIOS flashing?
If power is lost during BIOS flashing, the motherboard may become unbootable. Always use stable power supply or UPS to prevent BIOS corruption and system failure risk.
5. Do I need the internet for BIOS flashing?
No, the internet is only needed to download BIOS file. The Flashing process works completely offline using a USB drive.
Conclusion
Flashing BIOS on a B650 Pro motherboard is a powerful way to improve system performance, stability, and compatibility. By carefully following the Flash BIOS Button method, users can safely update firmware without technical difficulty. Always use official files and a stable power supply. Proper execution ensures a reliable, updated, and future-ready system with improved hardware performance and efficiency.